
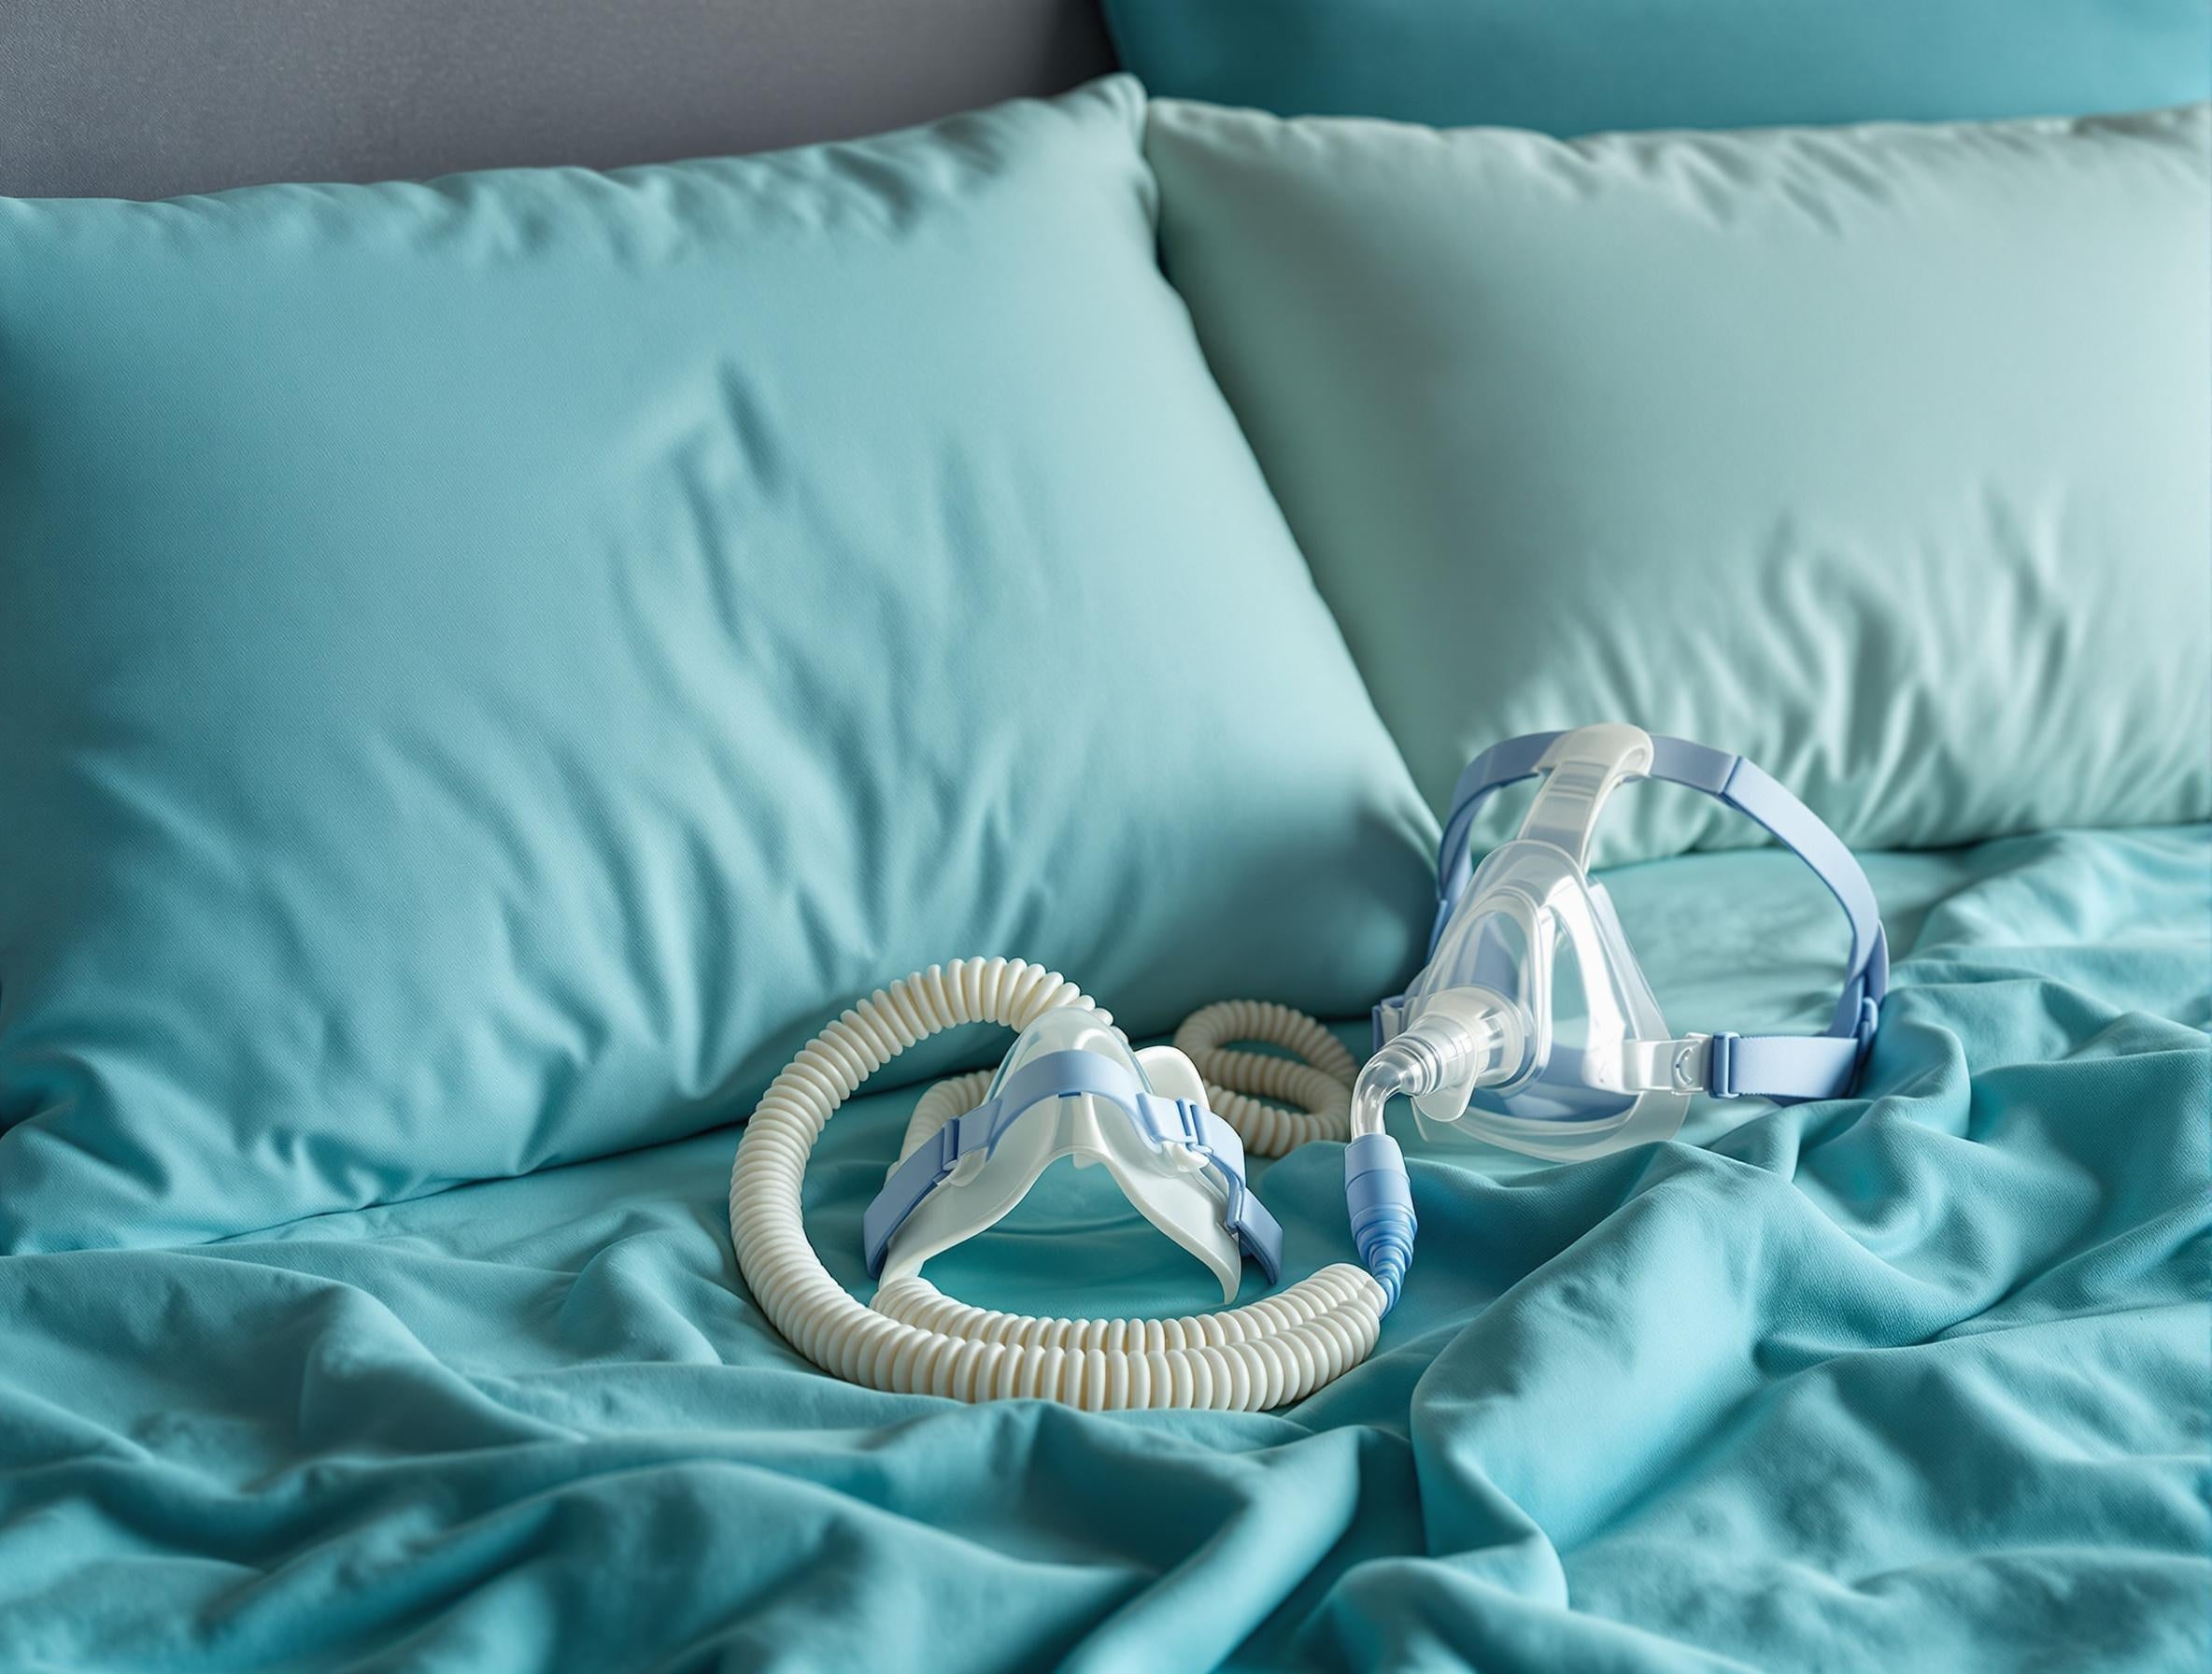
Your journey to beginning PAP therapy.
Positive Airway Pressure (PAP) therapy is the umbrella term for all treatments that use pressurized air to help people breathe during sleep. It's like having a gentle air pump that keeps your breathing passages open throughout the night, ensuring you get proper oxygen while sleeping.
"Nothing worth having comes easy." – Theodore Roosevelt
"Reading the right article at the right moment can change your day, your perspective, or even your life."
- David Allen

Understanding Sleep Apnea: Types, Origins, and Contributing Factors
Sleep apnea is a serious sleep disorder characterized by repeated interruptions in breathing during sleep. These pauses, called apneas, can last from a few seconds to minutes and may occur 30 times or more per hour. The condition disrupts normal sleep patterns and reduces oxygen supply to the body, leading to numerous health complications if left untreated.
The Main Types of Sleep Apnea
Obstructive Sleep Apnea (OSA)
Obstructive Sleep Apnea is the most common form, affecting approximately 10-30% of adults. OSA occurs when the muscles in the back of the throat fail to keep the airway open despite efforts to breathe. This physical blockage results from the collapse of the soft tissues in the throat during sleep.
Mechanism: During normal breathing, air flows freely through the throat to the lungs. In OSA, when a person sleeps, the muscles that support the soft tissues in the throat (tongue, soft palate, and uvula) relax. This relaxation causes the airway to narrow or close completely during inhalation, temporarily cutting off breathing. When the oxygen level drops, the brain senses this disturbance and briefly rouses the person from sleep to reopen the airway. This awakening is usually so brief that the person doesn't remember it.
Origins and Risk Factors:
Anatomical factors: Excess weight and obesity (fat deposits around the upper airway)
Large tonsils and adenoids (especially common in children)
Craniofacial abnormalities (small jaw, recessed chin, large tongue)
Nasal obstruction due to deviated septum, allergies, or sinus problems
Family history and genetic predisposition
Central Sleep Apnea (CSA)
Central Sleep Apnea is less common than OSA and involves a failure of the brain to transmit proper signals to the breathing muscles.
Mechanism: In CSA, the brain temporarily fails to send appropriate signals to the muscles that control breathing. Unlike OSA, where the body attempts to breathe against a blocked airway, in CSA, there is no effort to breathe during the apneic episodes because the respiratory control center in the brain is not functioning correctly.
Origins and Risk Factors:
Neurological disorders affecting the brainstem (stroke, brain infection, cervical spine injury)
Heart disorders like congestive heart failure
High altitude exposure
Opioid medications which can suppress respiratory drive
Certain medical conditions like kidney failure
Complex/Mixed Sleep Apnea
Complex or mixed sleep apnea is a combination of both obstructive and central sleep apnea.
Mechanism: Initially presenting as OSA, some patients develop central apneas during treatment with positive airway pressure therapy. This suggests that the underlying mechanisms of breathing control may be affected by long-term airway obstruction or may represent an independent disorder with features of both types.
Origins: Often begins as obstructive sleep apnea but reveals central components during treatment, suggesting a complex underlying pathophysiology involving both brain signaling issues and physical obstructions.
Sleep Apnea-Hypopnea Syndrome (SAHS)
This term encompasses both complete cessations of breathing (apneas) and partial reductions in airflow (hypopneas) that can cause oxygen desaturation and sleep fragmentation.
Hypopneas: These are partial reductions in airflow (usually by 30-90%) that last at least 10 seconds and are accompanied by oxygen desaturation or arousal from sleep.
Why Sleep Apnea Is Becoming More Common
Several factors contribute to the increasing prevalence of sleep apnea:
With global obesity rates climbing steadily over the past few decades, more people develop fat deposits around the upper airway that can obstruct breathing during sleep.
As societies age, the prevalence of sleep apnea increases since muscle tone decreases with age, including in the throat muscles.
Enhanced awareness among healthcare providers and better diagnostic technologies have led to more cases being identified that previously went undiagnosed.
Reduced physical activity contributes to weight gain and decreased muscle tone throughout the body, including respiratory muscles.
These factors can contribute to sleep disorders, including sleep apnea.
Lifestyle Factors Contributing to Sleep Apnea
Several lifestyle choices and habits can significantly increase the risk of developing sleep apnea:
Weight and Diet
Excess body weight is the single most significant risk factor for OSA. Fat deposits around the upper airway can obstruct breathing. Studies indicate that a 10% weight gain increases the risk of OSA by six times.
Additionally, poor dietary choices that lead to weight gain—especially consumption of highly processed foods, excessive calories, and alcohol before bedtime—can worsen sleep apnea symptoms.
Alcohol and Sedatives
Alcohol, sedatives, and tranquilizers relax the muscles in the throat, which can worsen obstructive sleep apnea. These substances reduce the tone of the upper airway dilator muscles and increase airway collapsibility.
Smoking
Tobacco use is associated with increased risk of sleep apnea. Smoking causes inflammation and fluid retention in the upper airway, which can narrow the airway space. Smokers are approximately three times more likely to have OSA than non-smokers.
Sleep Position
Sleeping on the back (supine position) worsens sleep apnea for many individuals because gravity pulls the relaxed tongue and soft tissues backward, obstructing the airway more easily.
Nasal Congestion
Chronic nasal congestion from allergies or anatomical issues increases the risk of sleep apnea by forcing individuals to breathe through their mouths during sleep, which can lead to airway instability.
Sleep Apnea's Significance in Public Health
Sleep apnea isn't merely a sleep disorder—it's a significant public health concern with far-reaching effects on multiple body systems. The intermittent oxygen deprivation and sleep fragmentation can lead to increased risks of cardiovascular problems, metabolic disorders, cognitive impairment, and diminished quality of life.
The increasing prevalence of this condition highlights the importance of understanding its types, origins, and contributing factors to better address this growing health challenge.
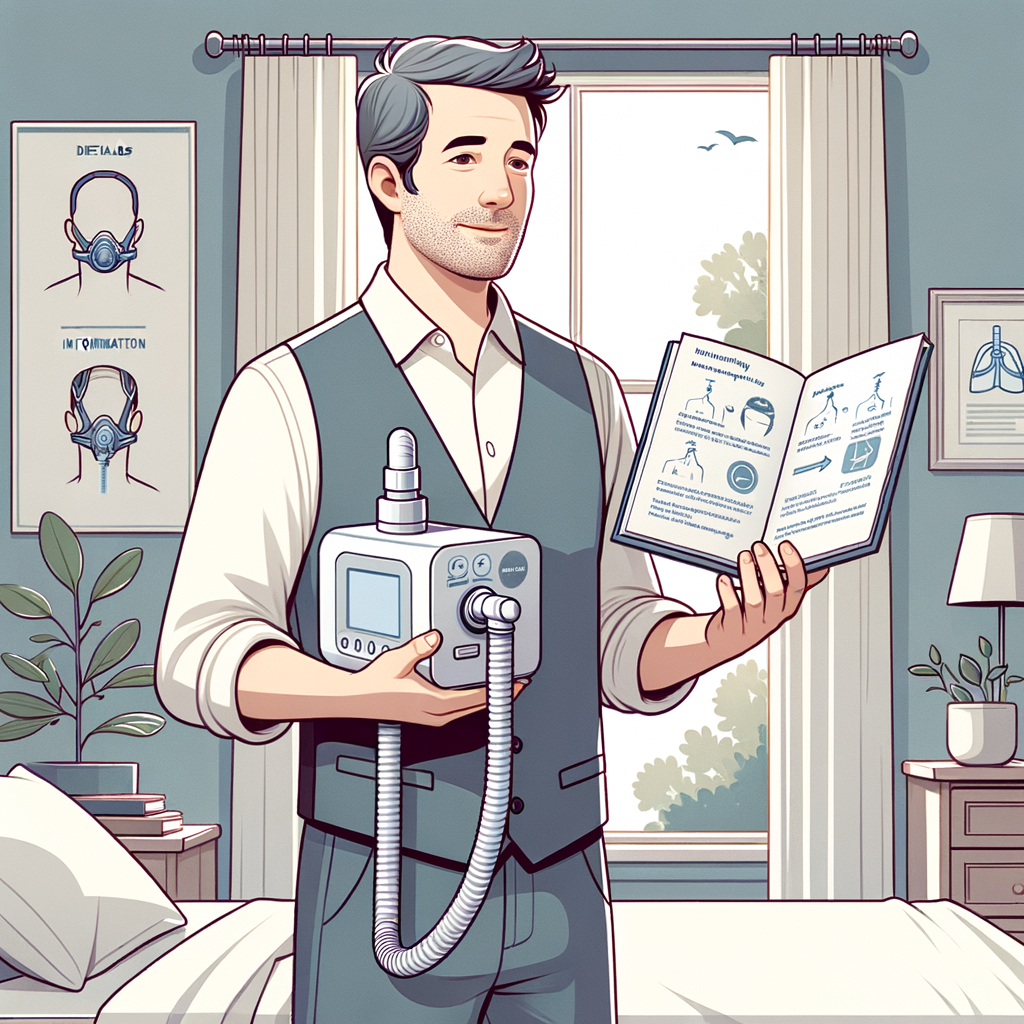
Setting Up CPAP Devices:
A Technical Guide
Continuous Positive Airway Pressure (CPAP) therapy stands as the gold standard treatment for obstructive sleep apnea. The proper setup of these devices is crucial for effective therapy and patient compliance. This guide covers general CPAP setup principles along with specific information on three popular travel-sized models: the BMC G3, ResMed AirMini, and BMC M1 Mini.
General CPAP Setup Guidelines
Initial Preparation
Position your CPAP device on a stable, level surface near your bed. Ensure it sits lower than your sleeping position to prevent condensation from flowing back into the machine. Connect the power adapter to the device and plug it into a grounded electrical outlet. Consider a surge protector to prevent damage during electrical fluctuations. Most CPAP devices utilize air filters that need proper installation before use. These typically slide into a designated compartment at the air intake. For devices with humidification, fill the water chamber to the indicated maximum line using distilled water only (tap water causes mineral buildup that damages the device). Attach the air tubing firmly to the device's air outlet port. Ensure connections are secure to prevent air leaks. Connect the opposite end of the tubing to your CPAP mask. Different masks require different connection methods, but most click into place.
BMC G3 Series Setup
The BMC G3 is a popular CPAP/APAP device with advanced features despite its relatively small size.
Technical Specifications
- Dimensions: 5.7" × 5.1" × 3.9"
- Weight: 1.9 lbs
- Pressure Range: 4-20 cmH₂O
- Ramp Time: 0-60 minutes (adjustable)
- Operating Altitude: Up to 8,500 feet
Specific Setup Steps
- SD Card Installation: Insert the SD card into the slot on the side of the device for data recording.
- Power Connection: Connect the 24V DC power adapter.
- Filter Installation: Insert the foam filter into the filter compartment on the device's rear.
- Tube Connection: Attach the 15mm standard tubing to the air outlet port.
- Initial Settings Configuration:
- Press and hold the dial and home button simultaneously for 3 seconds to access the clinical menu.
- Rotate the dial to navigate through settings and press to select.
- The device offers both fixed CPAP and Auto (APAP) modes.
———————————————
ResMed AirMini Setup
The ResMed AirMini is one of the smallest CPAP devices available, designed specifically for travel.
Technical Specifications
- Dimensions: 5.4" × 3.3" × 2.0"
- Weight: 0.66 lbs
- Pressure Range: 4-20 cmH₂O
- HumidX: Waterless humidification system
- Bluetooth: Built-in for connection to smartphone app
Specific Setup Steps
Power Connection: Connect the provided power supply unit.
Tubing Setup: The AirMini uses proprietary tubing designs specific to compatible mask types:
- AirMini tubing for F20 full face masks
- AirMini tubing for N20 nasal masks
- AirMini tubing for P10 nasal pillow masks
- Adapters are available for other types of masks
HumidX Installation: For N20 and P10 setups, insert the HumidX cartridge into the connector between the tubing and mask.
App Connection:
- Download the AirMini app on your smartphone.
- Enable Bluetooth on your phone.
- Follow in-app instructions to pair with the device.
- All settings adjustments must be done through the app as the device has no display screen.
———————————————
BMC M1 Mini Setup
The BMC M1 Mini offers a balance between portability and functionality with its integrated display.
Technical Specifications
- Dimensions: 4.1" × 2.6" × 5.8"
- Weight: 1.3 lbs
- Pressure Range: 4-20 cmH₂O
- Built-in Battery: Optional version available with 8-hour battery
- Display: Integrated OLED screen
Specific Setup Steps
- Power Connection: Connect the DC power supply.
- Filter Installation: Insert the air filter into the back compartment.
- Tubing Connection: Attach standard 15mm or 22mm tubing to the air outlet.
- Settings Configuration:
- Press and hold the menu button for 3 seconds to access the settings menu.
- Use the up/down buttons to navigate and the menu button to select.
- For clinical settings, press and hold both the menu and up buttons for 5 seconds.
Understanding Common CPAP/APAP Settings
Mode Options
- CPAP Mode: Delivers a continuous, fixed pressure throughout the night.
- APAP Mode: Automatically adjusts pressure within a prescribed range based on detected respiratory events.
- BiPAP Mode: Provides different pressures for inhalation and exhalation (not available on these travel models).
Pressure Settings
- Fixed Pressure: In CPAP mode, this is the single pressure (measured in cmH₂O) delivered continuously.
- Pressure Range: In APAP mode, these are the minimum and maximum pressures (4-20 cmH₂O is typical) within which the device will automatically adjust.
- Starting Pressure: The initial pressure when the device begins operation, often lower than the therapeutic pressure.
Comfort Features
- Ramp Time: Gradually increases pressure from a lower starting pressure to the prescribed therapeutic pressure over a set period (typically 5-45 minutes).
- EPR/A-Flex/C-Flex: Pressure relief during exhalation to make breathing feel more natural:
- Setting of 1: Minimal pressure drop during exhalation
- Setting of 2: Moderate pressure drop
- Setting of 3: Maximum pressure drop
- Mask Type: Setting that optimizes air delivery based on the selected mask type (nasal, full face, pillows).
Advanced Settings
- AHI Goal: Some advanced APAPs allow setting a target Apnea-Hypopnea Index value.
- Response Rate: How quickly the device responds to detected events (faster response can cause more pressure fluctuations).
- Snore Detection Sensitivity: Determines how responsive the device is to detected snoring.
- Auto Start/Stop: Enables the device to automatically start when breathing into the mask and stop when removing it.
Data Recording Settings
- Compliance Recording: Tracks usage hours, days used, and detailed breathing event data.
- Leak Monitoring: Records mask and mouth leaks that might compromise therapy.
- AHI Recording: Tracks respiratory events per hour to monitor therapy effectiveness.
Technical Calibration Considerations
When setting up any CPAP device, several technical considerations should be addressed:
Altitude Compensation
Pressure delivery is affected by atmospheric pressure, which changes with altitude. Many modern devices automatically adjust for altitude changes, but some require manual calibration:
- BMC G3: Automatic altitude adjustment up to 8,500 feet
- ResMed AirMini: Automatic adjustment up to 8,500 feet
- BMC M1 Mini: Automatic adjustment up to 8,000 feet
Mask Leak Calibration
All three featured devices have automatic leak compensation, but understanding the limits helps with troubleshooting:
- BMC G3: Compensates for leaks up to 40 L/min
- ResMed AirMini: Compensates for leaks up to 45 L/min
- BMC M1 Mini: Compensates for leaks up to 38 L/min
Monitoring Systems
BMC G3: Provides basic efficacy data on the display; more detailed data available via SD card
ResMed AirMini: All monitoring happens through the smartphone app, which provides therapy statistics and trends
BMC M1 Mini: Offers on-screen summaries of basic usage data; more comprehensive data requires software
Proper setup of a CPAP device is essential for effective therapy. While these travel-sized models prioritize portability, they retain most of the technical capabilities of their larger counterparts. Understanding the specific requirements of your prescribed device and the significance of each setting will help maximize the benefits of CPAP therapy for treating sleep apnea.
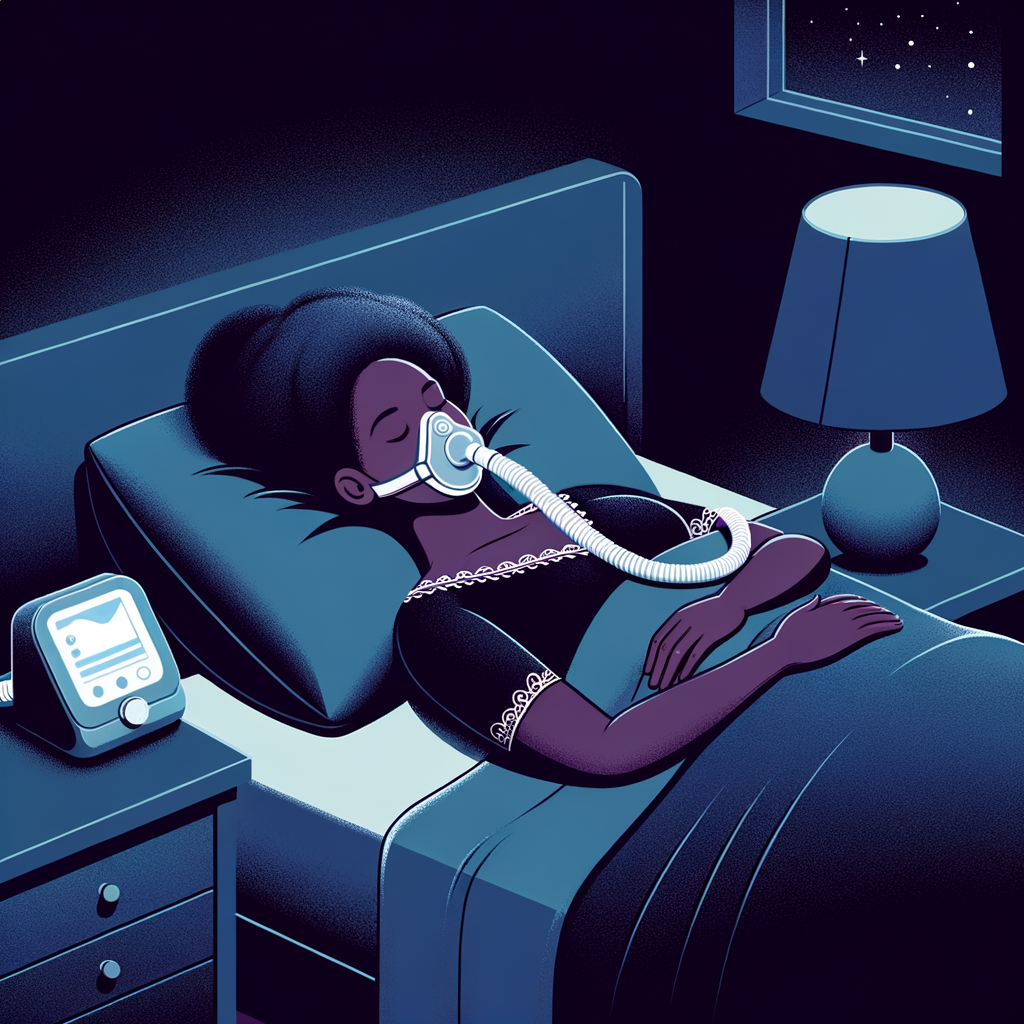
Your first night using CPAP or BiPAP
Setting Realistic Expectations
Your first night with CPAP/BiPAP therapy is a significant step toward better sleep health. Remember that becoming comfortable with your device typically takes 2-3 weeks for most patients. Frustration is completely normal during this adjustment period, and it's important not to get discouraged if things don't go perfectly right away.
Preparation Before Bedtime
1. Familiarize yourself with your equipment during the day:
- Practice wearing your mask for short periods (1-5 minutes) while awake
- Gradually increase to 15-20 minutes of comfortable wear
- Try using the device while watching TV or listening to music to create a relaxed association
2. Use a gradual approach:
- Sit on the edge of your bed with the mask on
- Practice taking it on and off until you feel comfortable
- If your machine has a "ramp" feature, use it to start with lower pressure
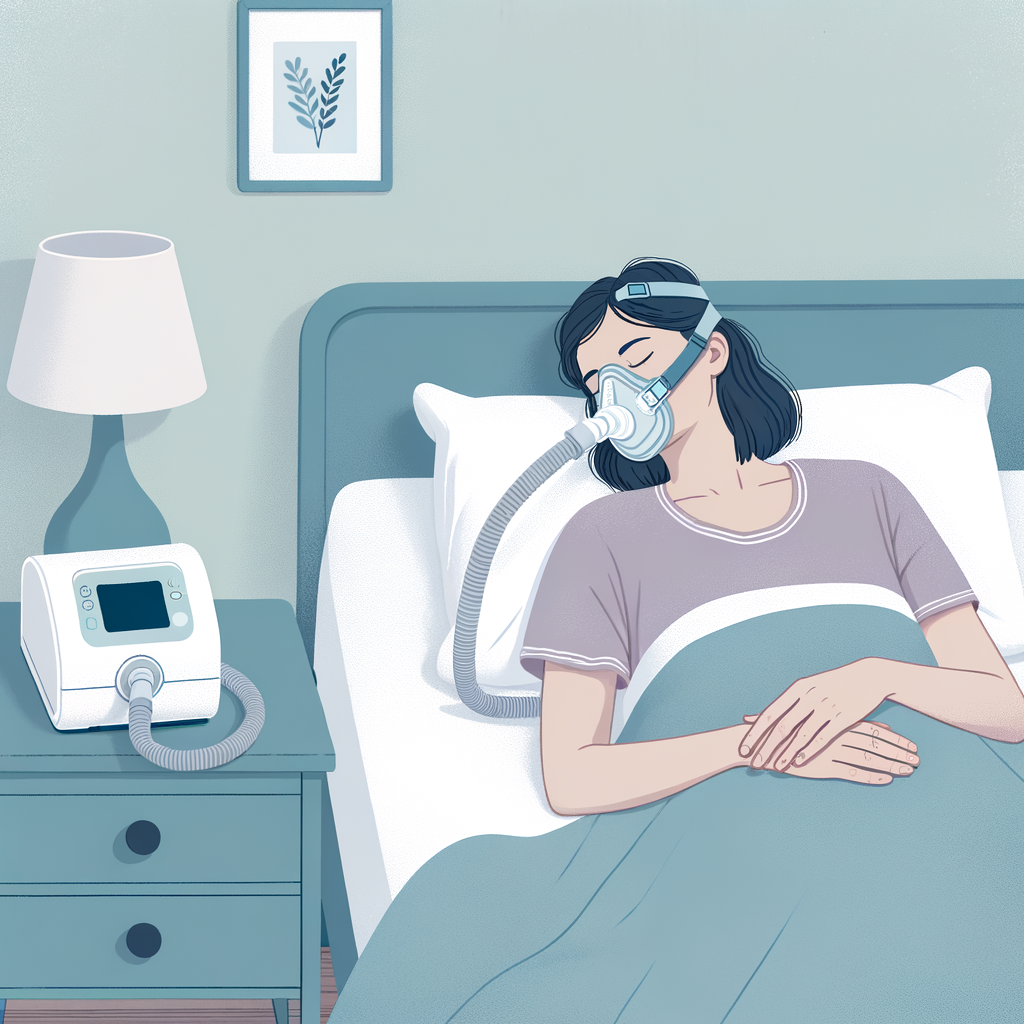
Mask Fitting Tips
1. Proper fit is crucial:
- The mask should create a seal without being overly tight
- Apply the mask while the air is flowing to help create a proper seal
- Position the mask correctly (nasal masks shouldn't sit too high on the bridge)
- Adjust straps evenly on both sides
2. Addressing leaks:
- If you experience leaks, readjust rather than overtightening
- Consider trying different mask styles if persistent leaks occur
- Nasal pillows may work better for some people than full face masks
Common First-Night Challenges and Solutions
Claustrophobia
- Remove the mask if you feel anxious, take a few breaths, then try again
- Practice relaxation techniques while wearing the mask
- Don't overtighten the straps (this can worsen claustrophobia)
Difficulty with Air Pressure
- Use the "ramp" feature to gradually increase pressure
- If your device has pressure relief technology (like "Flex"), enable it
- If pressure feels overwhelming, it's okay to temporarily lower it so you can sleep
Nasal Discomfort or Dryness
- A humidifier can significantly improve comfort if you experience nasal dryness
- If you feel pain in your nasal passage, consult your provider about humidity settings
- Consider using a saline nasal spray before bedtime
Tube Management
- Using a CPAP tubing cover can reduce the "cold tube" sensation
- Position the tube over your headboard or use a hose holder to prevent pulling
- Consider a heated tube to reduce condensation ("rainout")
Practical Tips for Success
1. Start with achievable goals:
- Aim for 3-4 hours on your first night rather than a full night
- Each night, try to extend your usage time gradually
2. Create a comfortable sleep environment:
- Ensure your bedroom is cool, dark, and quiet
- Position your equipment so it doesn't disturb your normal sleep position
3. If you wake up during the night:
- It's okay to remove the mask if you need a break
- Try putting it back on after a few minutes
- Remember that partial usage is better than none
4. Be patient with yourself:
- If you need to take the mask off during the night, that's completely normal
- Each night will likely get easier as you adapt
When to Seek Help
If you experience persistent issues after several nights, reach out to your healthcare provider. Common reasons to seek assistance include:
- Continued mask leaks despite adjustments
- Persistent discomfort or skin irritation
- Inability to tolerate the prescribed pressure
- Unusual noise from your device
Remember that you're not alone in this process. Many patients face initial challenges but go on to successfully use their CPAP/BiPAP and experience significant health benefits. Taking ownership of your therapy and being proactive about solving problems will greatly increase your chances of success.